
I just finished (sort of) refurbishing my utility trailer for the second time since purchasing it used in 2010.
I took a lot of pics as I worked, so I thought I would share. Maybe someone will find it useful.
This thread will have two parts - first, a quick batch of photos of how it looked when I bought it, and how I refurbished it the first time, followed by the current refurb showing how I did the work this time around.
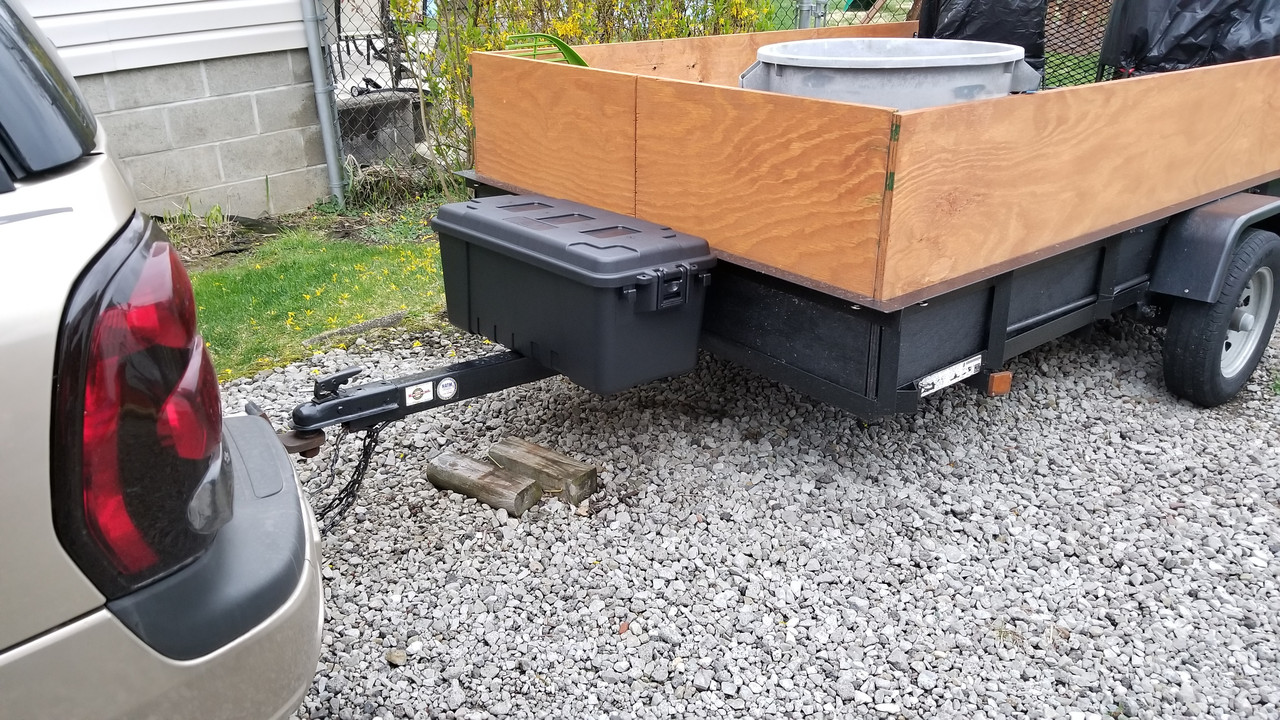
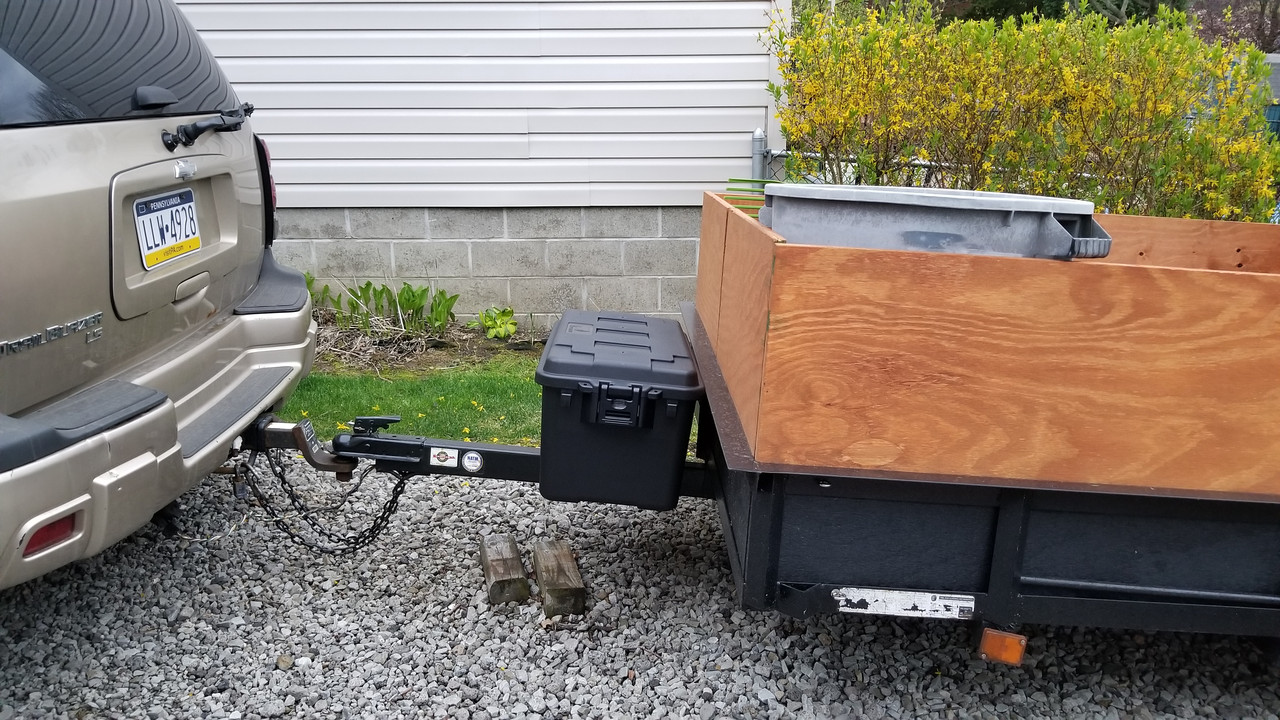
It's a basic Carry On brand 5'x8', open mesh floor trailer.
When I initially bought it, there were plywood sides on it, and they were solid, but it looked like crap.
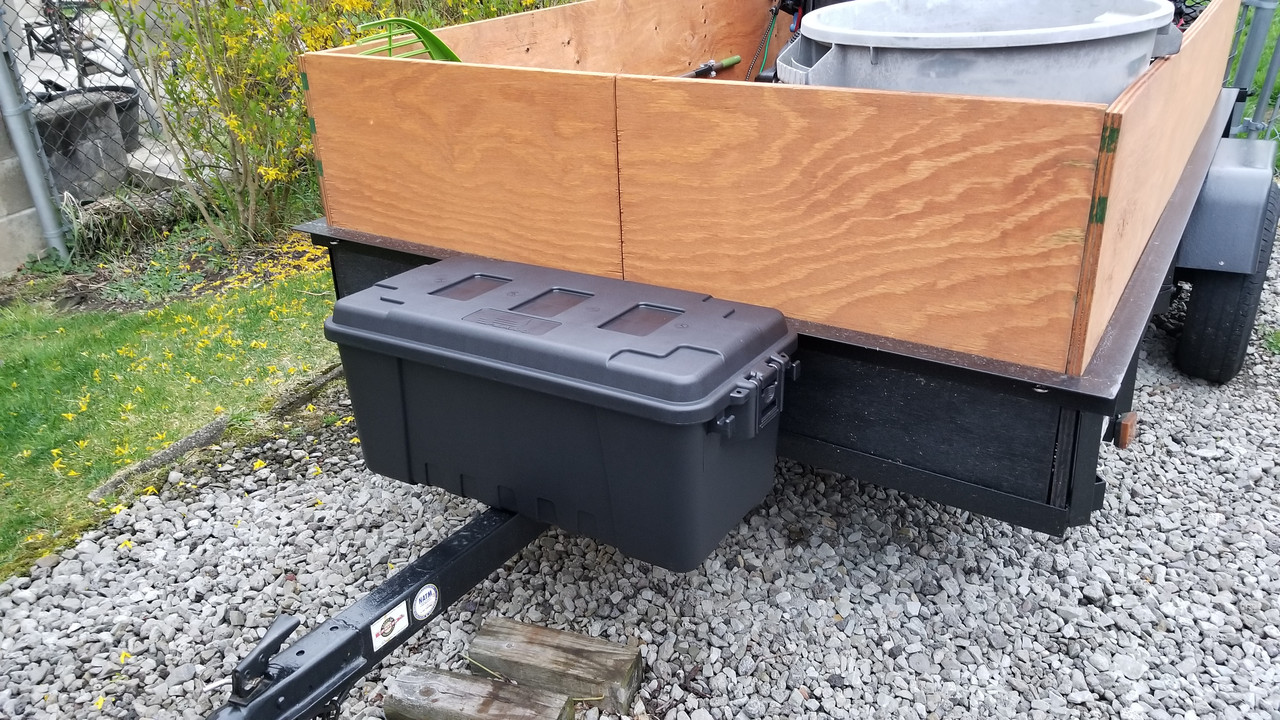
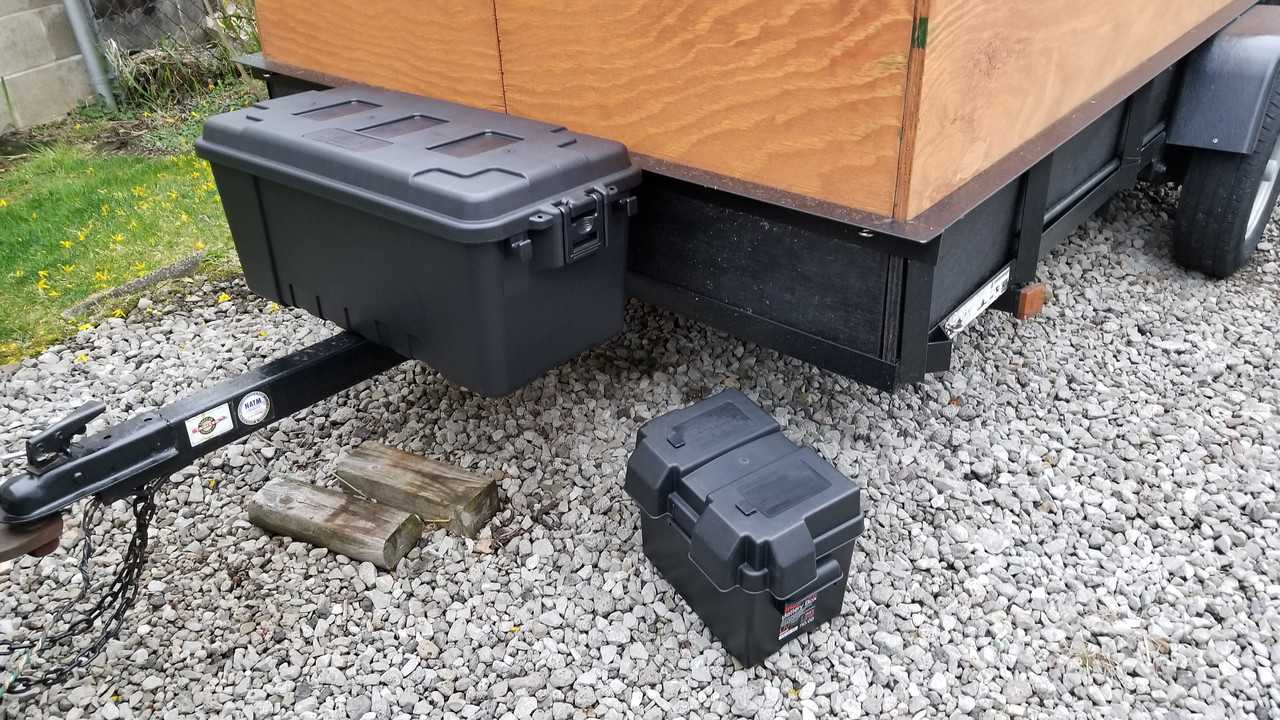
Rather than tearing it all off and starting from scratch, my solution was to repaint the bottom and trailer metal black, then "re-skin" the ugly, black vinyl-wrapped wood by bolting some thinner plywood over it.
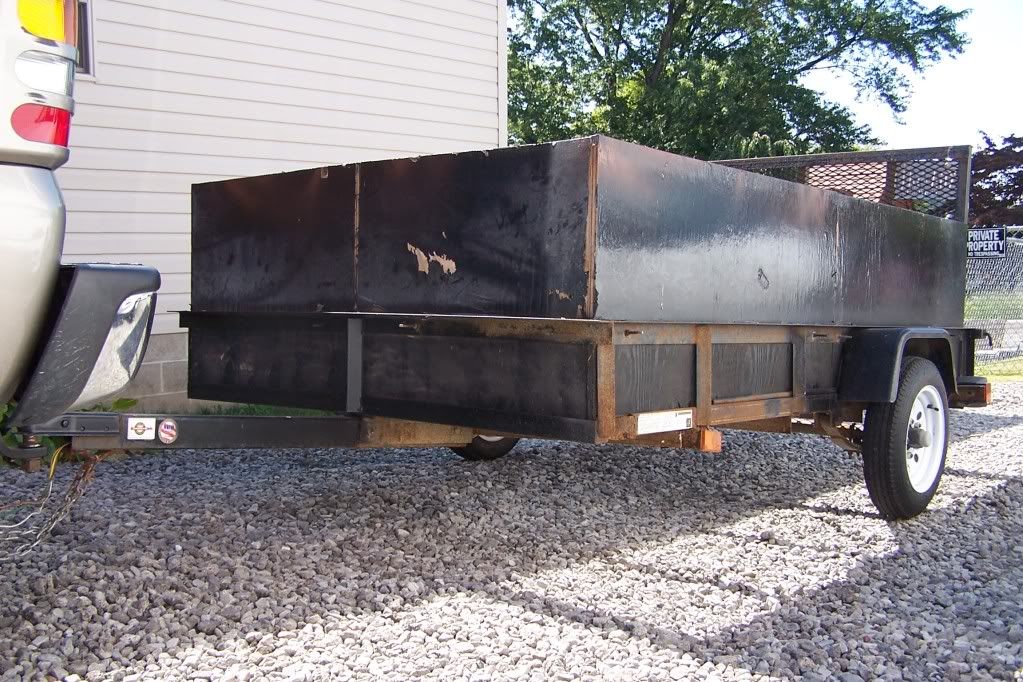
Here it is in 2010
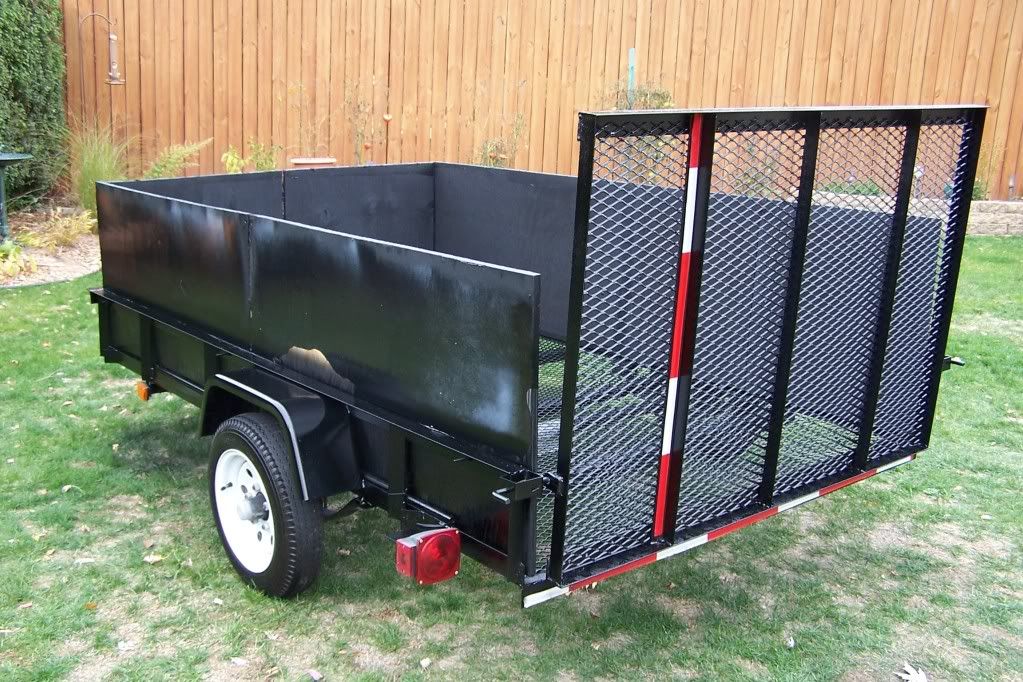
The previous owner used it to haul firewood. He added the plywood and wrapped it with black vinyl. Between that and the surface rust it was looking pretty rough. Something had to be done about that.
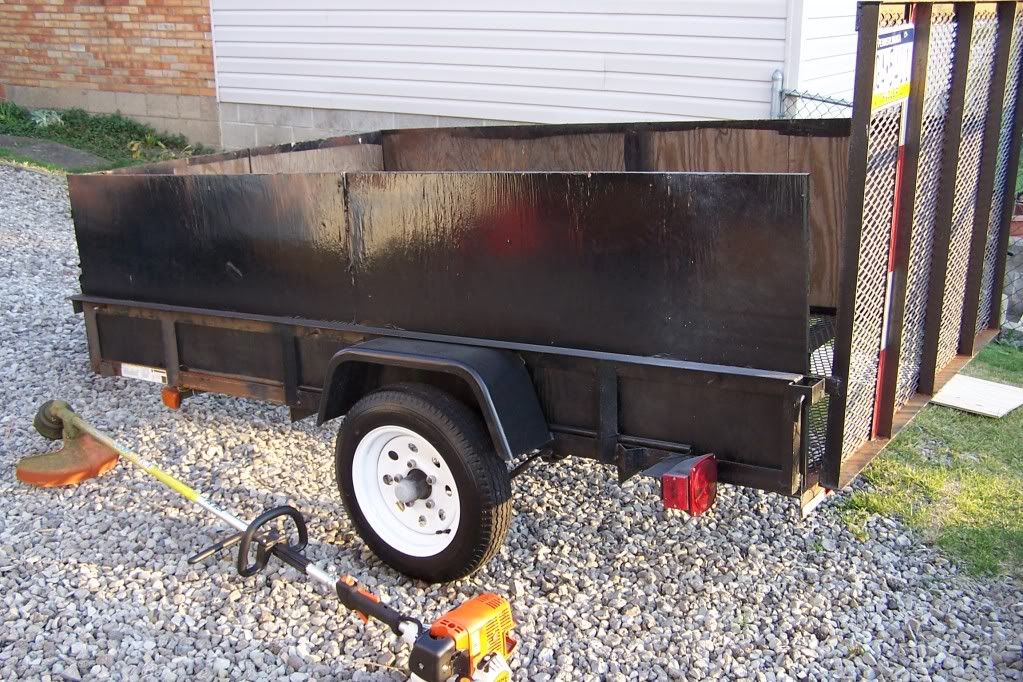
I ran a wire wheel over the rust, just knocking off the loose stuff, then I primed the metal, and painted the frame and lower outside wood black (and I painted the inside with flat black)...
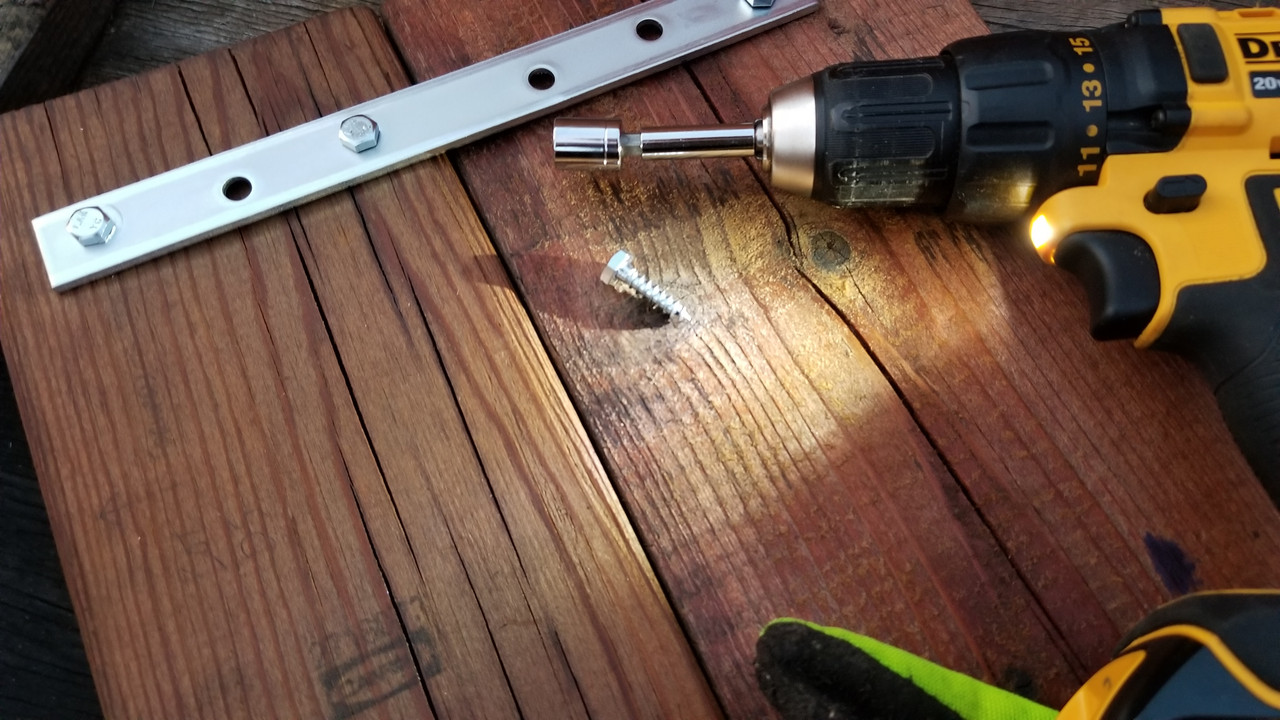
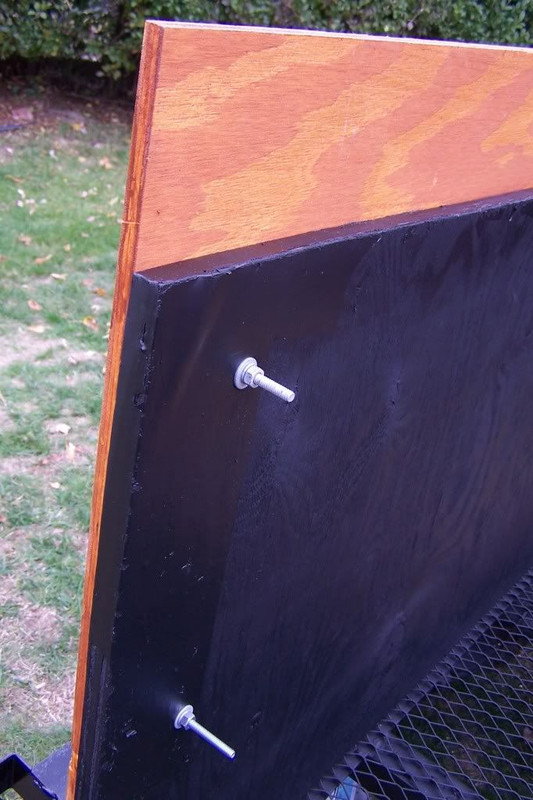
As I mentioned, it LOOKED like crap, but the sides were solid. It looked cheesy the way he used 2 pieces of plywood on each side, so I bought some thinner plywood, stained it with leftover deck stain/sealer, and bolted it on over the existing wood. I used eye bolts along the bottom to give me tie down points if needed. (yes, I cut off the excess length on the bolts)
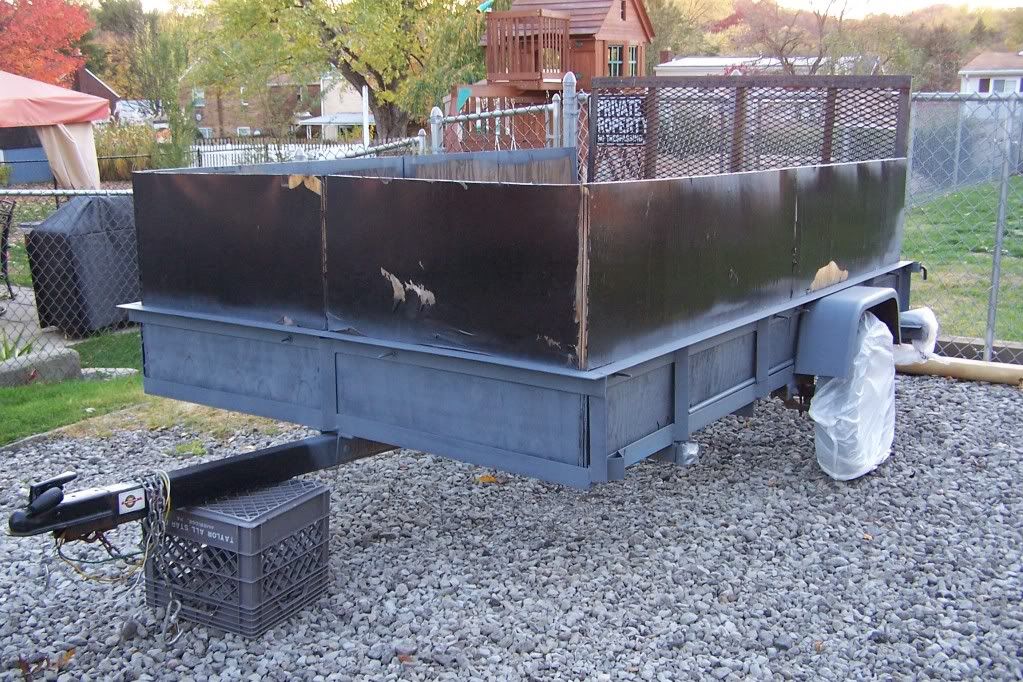
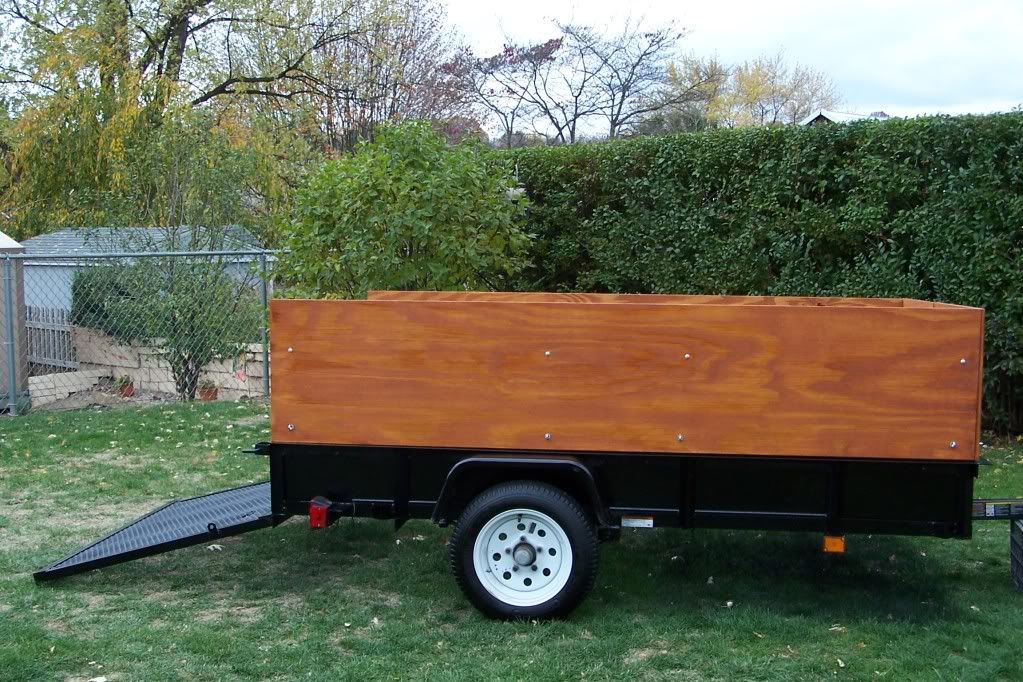
It sure looked a lot better than it did when I dragged that sorry thing home!
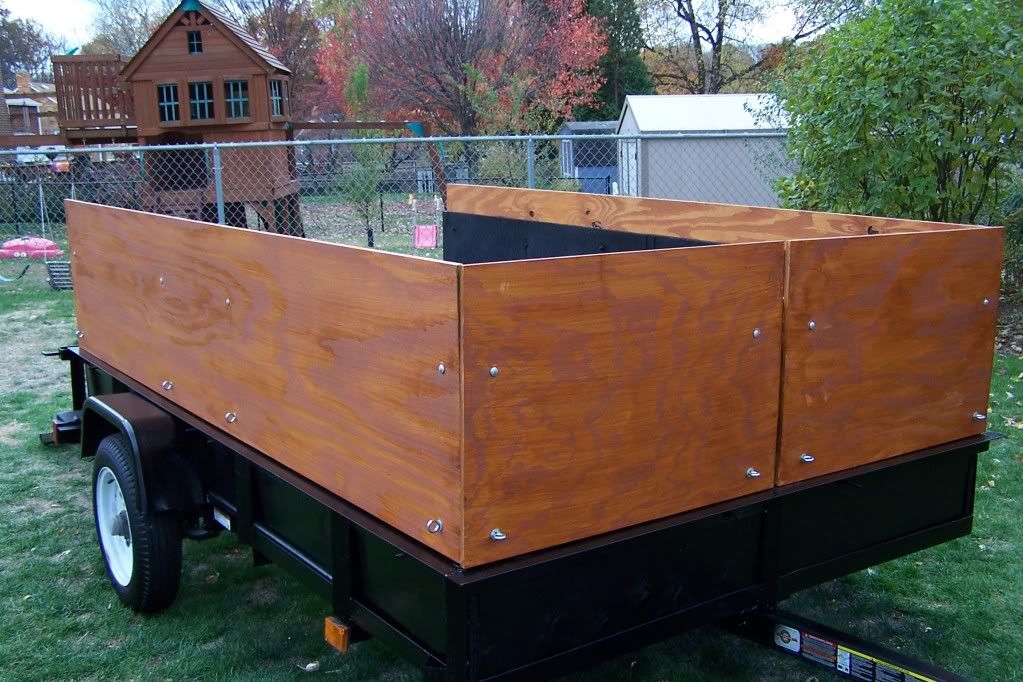

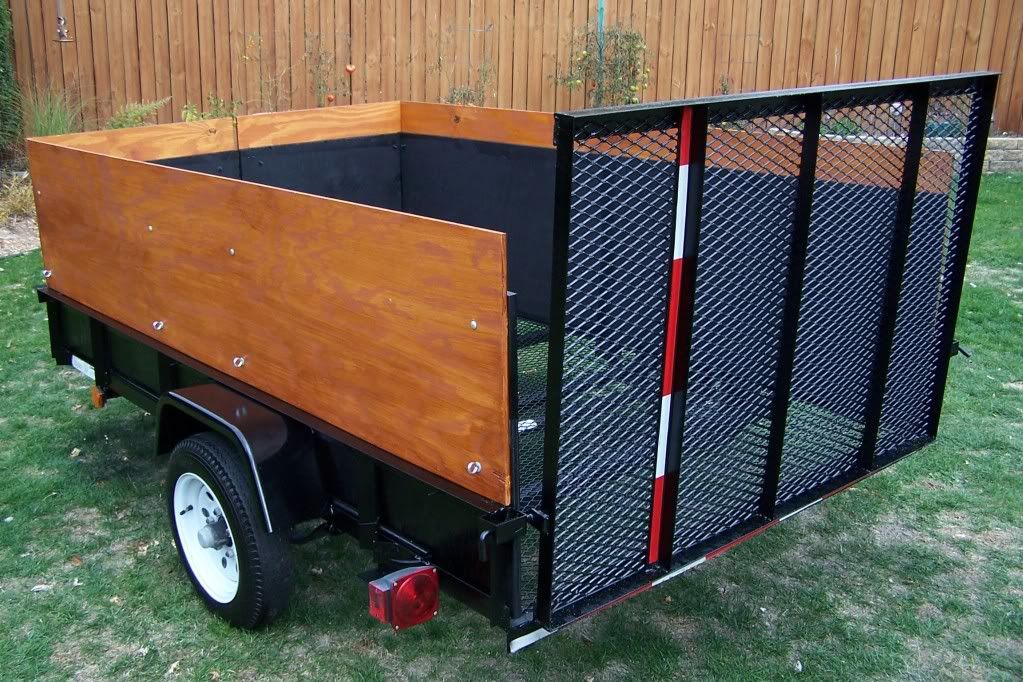
I added a sheet of plywood over the wire mesh floor because the mesh was sagging a bit in the front.
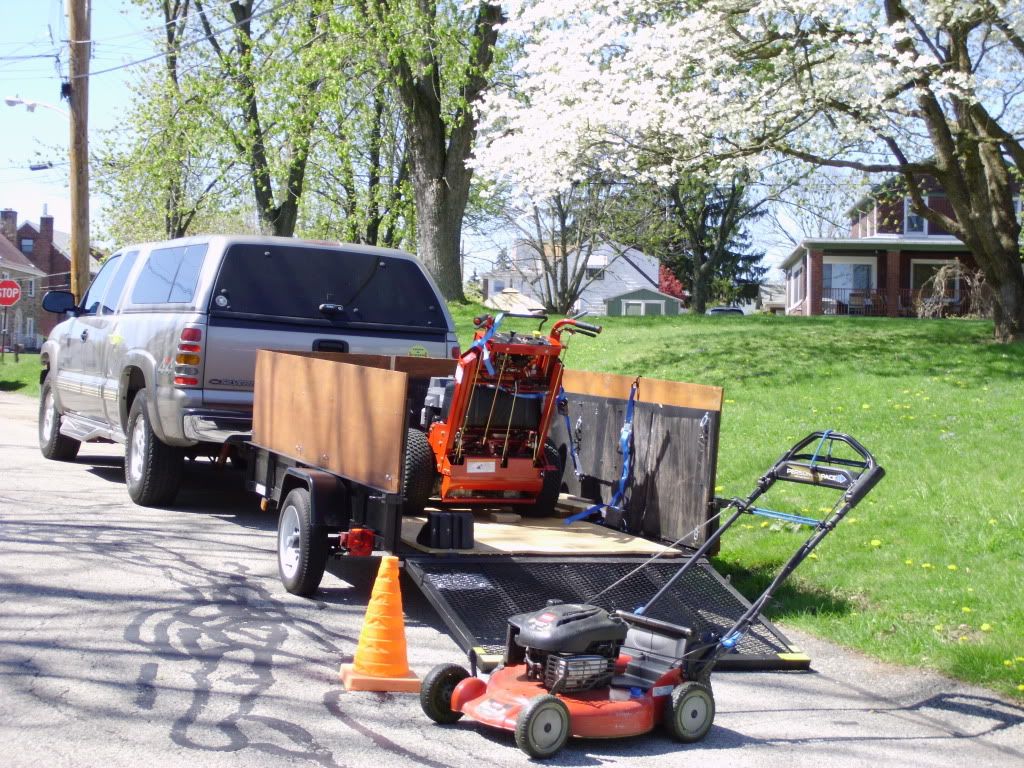
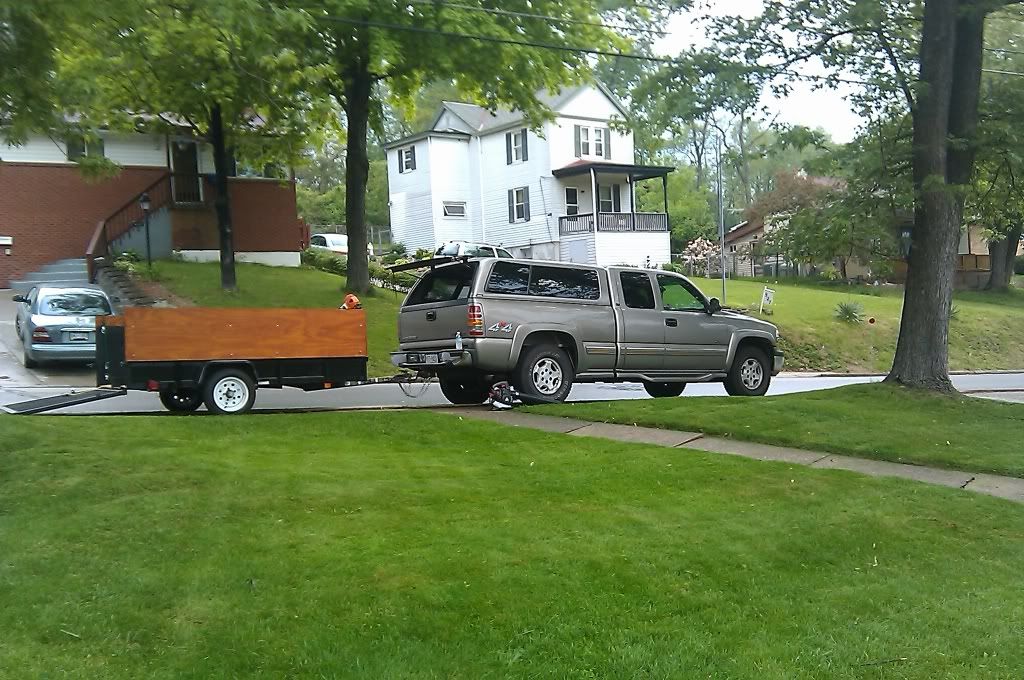
I've been using this trailer ever since, only adding a new coat of stain, and a new sheet of plywood once. (and new, radial tires)
Pics from the early days...
Up next - embarrassing photos of how it looked this spring and the process of tearing it down and building it back up again!
I took a lot of pics as I worked, so I thought I would share. Maybe someone will find it useful.
This thread will have two parts - first, a quick batch of photos of how it looked when I bought it, and how I refurbished it the first time, followed by the current refurb showing how I did the work this time around.
It's a basic Carry On brand 5'x8', open mesh floor trailer.
When I initially bought it, there were plywood sides on it, and they were solid, but it looked like crap.
Rather than tearing it all off and starting from scratch, my solution was to repaint the bottom and trailer metal black, then "re-skin" the ugly, black vinyl-wrapped wood by bolting some thinner plywood over it.
Here it is in 2010
The previous owner used it to haul firewood. He added the plywood and wrapped it with black vinyl. Between that and the surface rust it was looking pretty rough. Something had to be done about that.
I ran a wire wheel over the rust, just knocking off the loose stuff, then I primed the metal, and painted the frame and lower outside wood black (and I painted the inside with flat black)...
As I mentioned, it LOOKED like crap, but the sides were solid. It looked cheesy the way he used 2 pieces of plywood on each side, so I bought some thinner plywood, stained it with leftover deck stain/sealer, and bolted it on over the existing wood. I used eye bolts along the bottom to give me tie down points if needed. (yes, I cut off the excess length on the bolts)
It sure looked a lot better than it did when I dragged that sorry thing home!
I added a sheet of plywood over the wire mesh floor because the mesh was sagging a bit in the front.
I've been using this trailer ever since, only adding a new coat of stain, and a new sheet of plywood once. (and new, radial tires)
Pics from the early days...
Up next - embarrassing photos of how it looked this spring and the process of tearing it down and building it back up again!